Under window bookcase
My boss asked me to build a simple bookcase to place under a window in their youngest child's room.
The requirements were simple, the unit needed to be less then 31" tall, and no longer then 48" long, depth wasn't a huge concern, so given what I had access to in terms of materials, I went with 10" deep shelves. The shelf could also be stationary, however one opening needed to be around 13" tall.
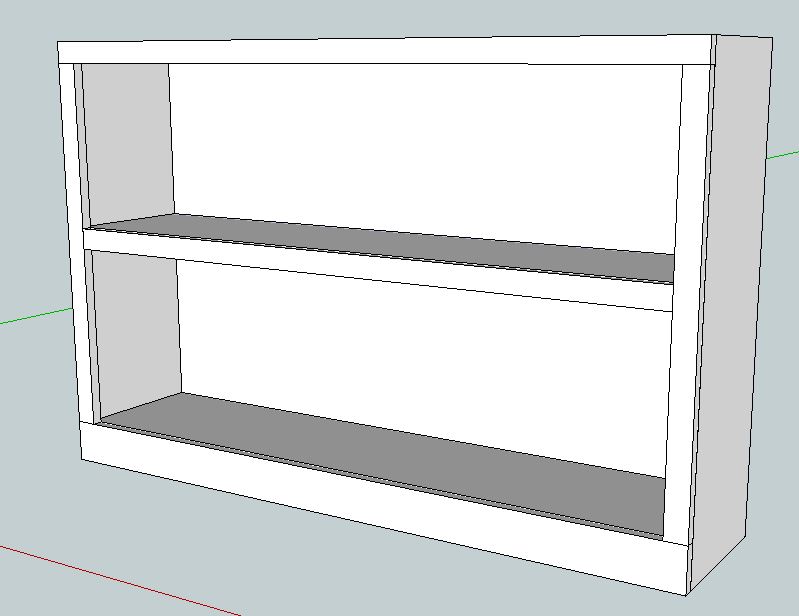
As with all projects I do, I started in SketchUp with drawing a plan to go by. This helps me visualize the project and adapt for any possible design problems, but a book case if pretty simple.
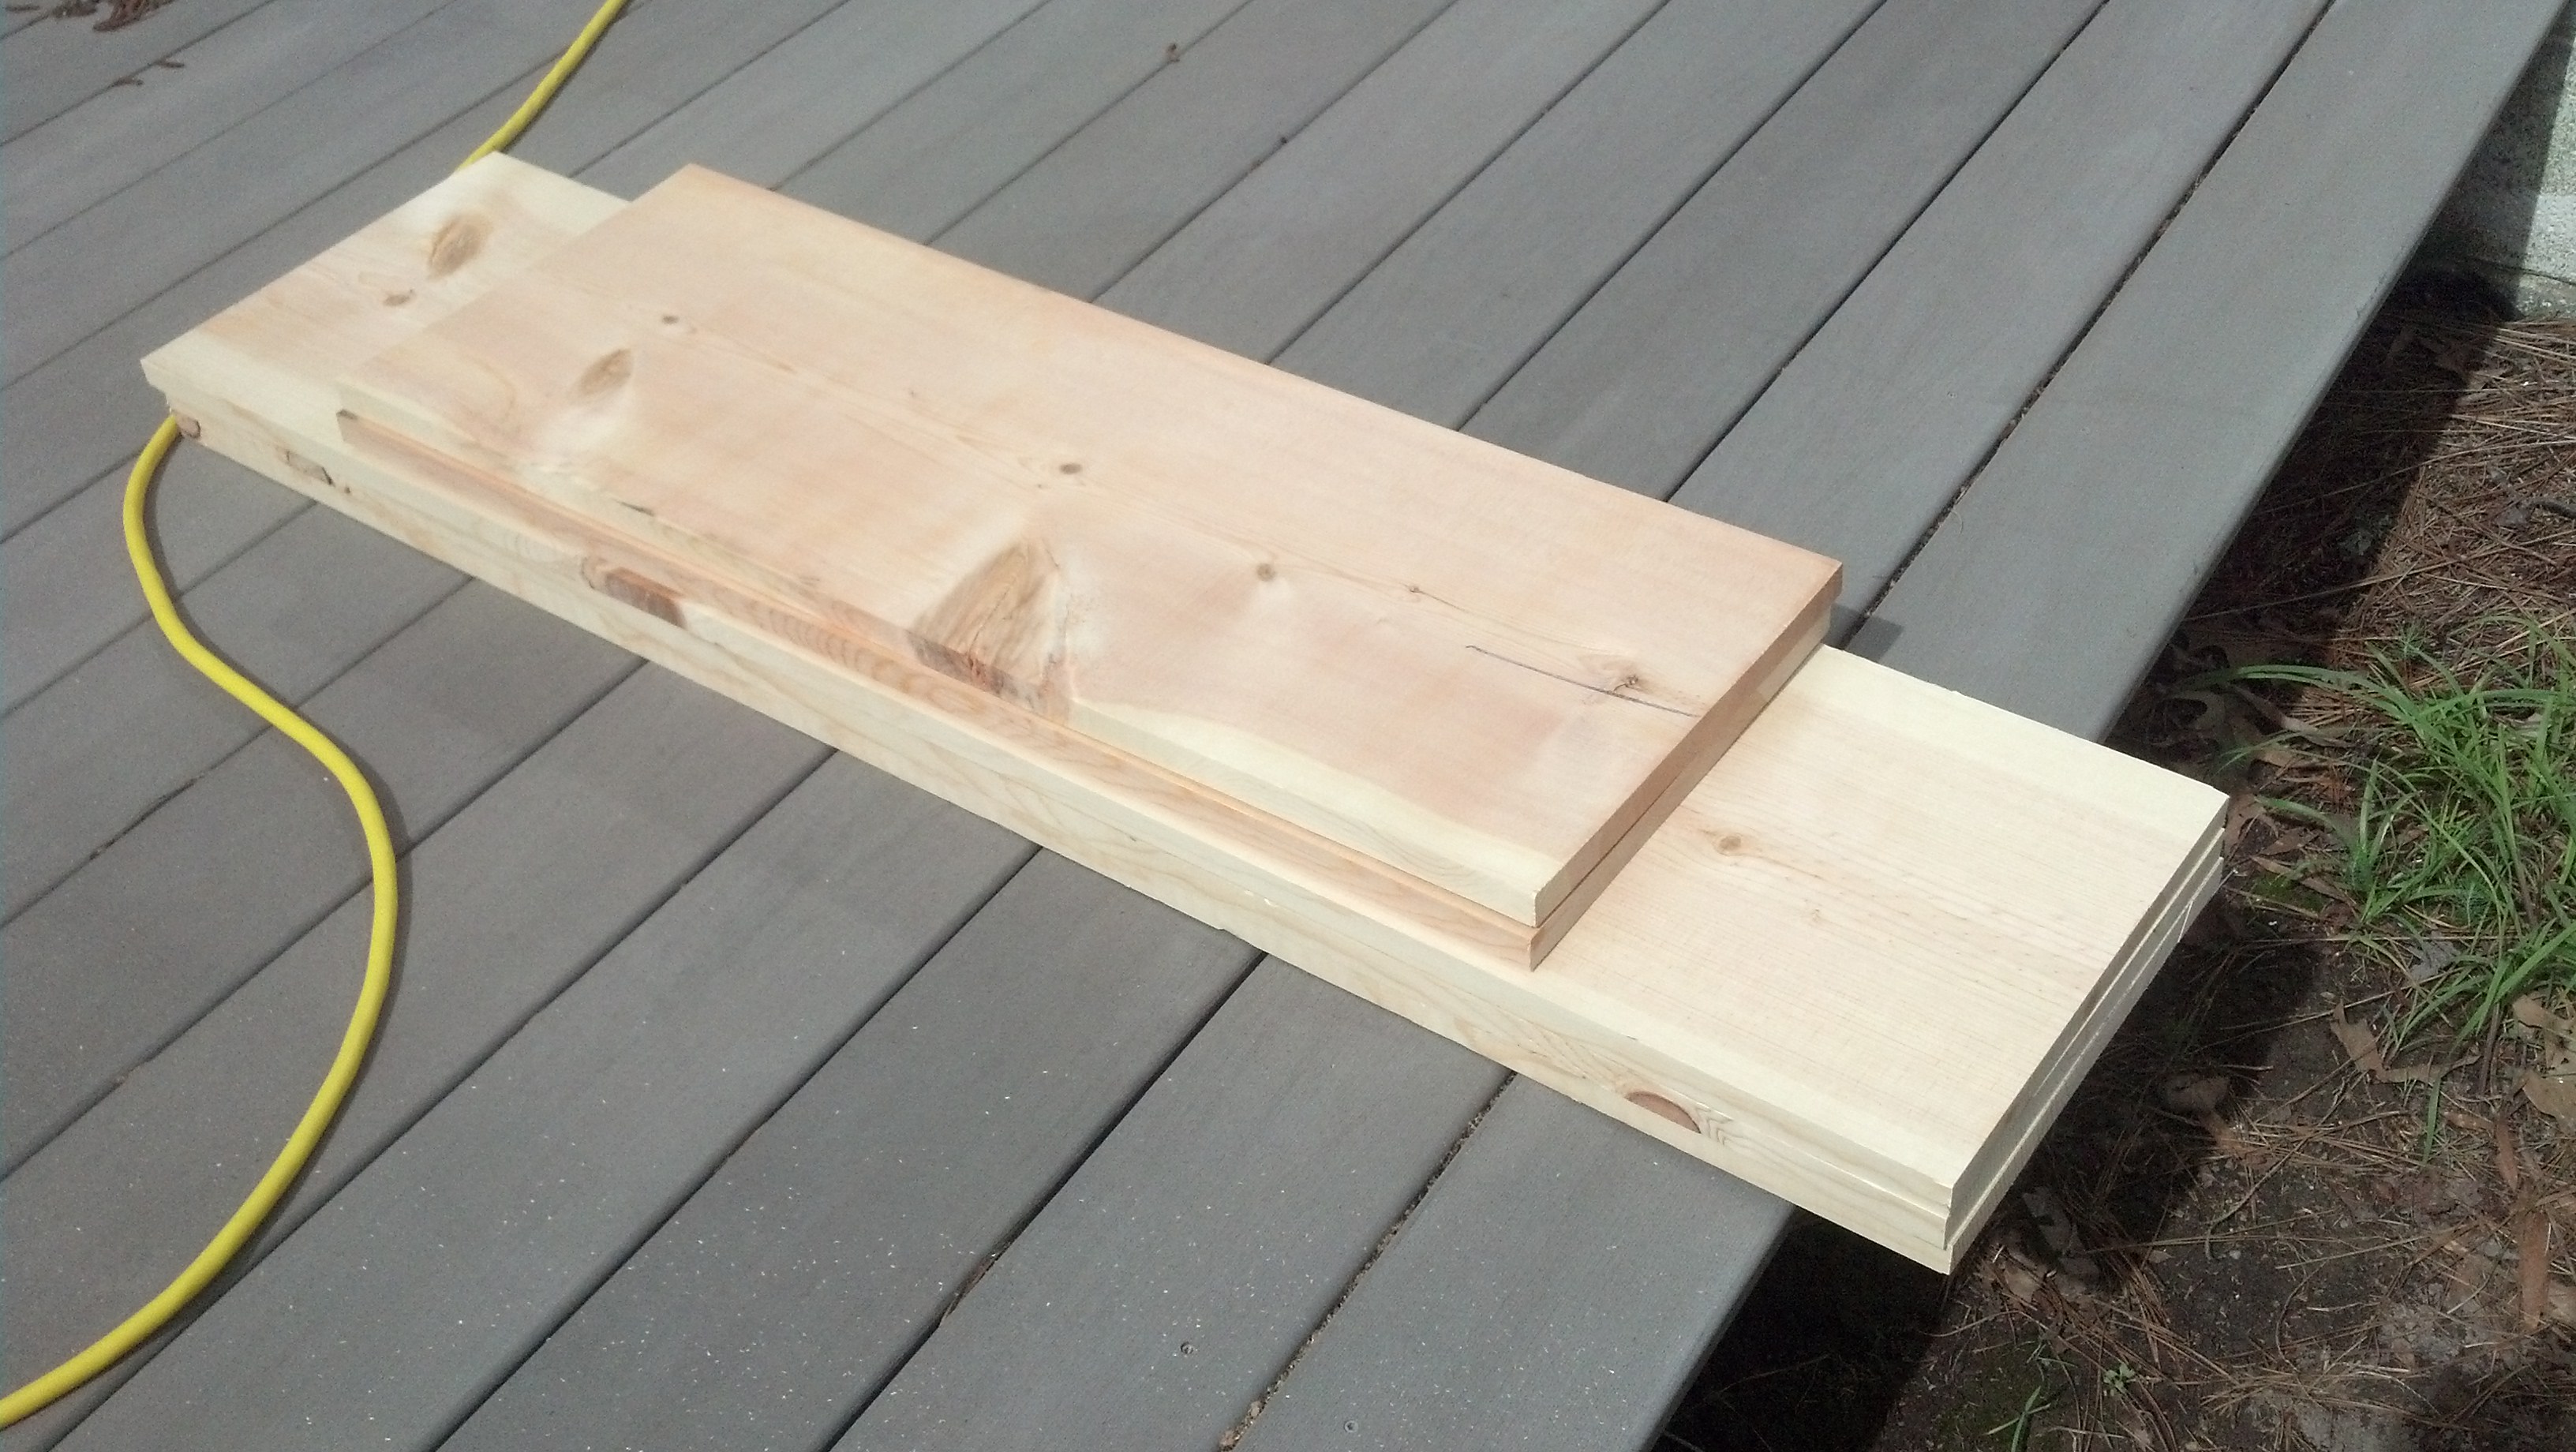
After the plan is made, material is purchased I always start with cutting as much as possible at setting those aside as "sub assembles" because this project is a only one assembly that's easy.
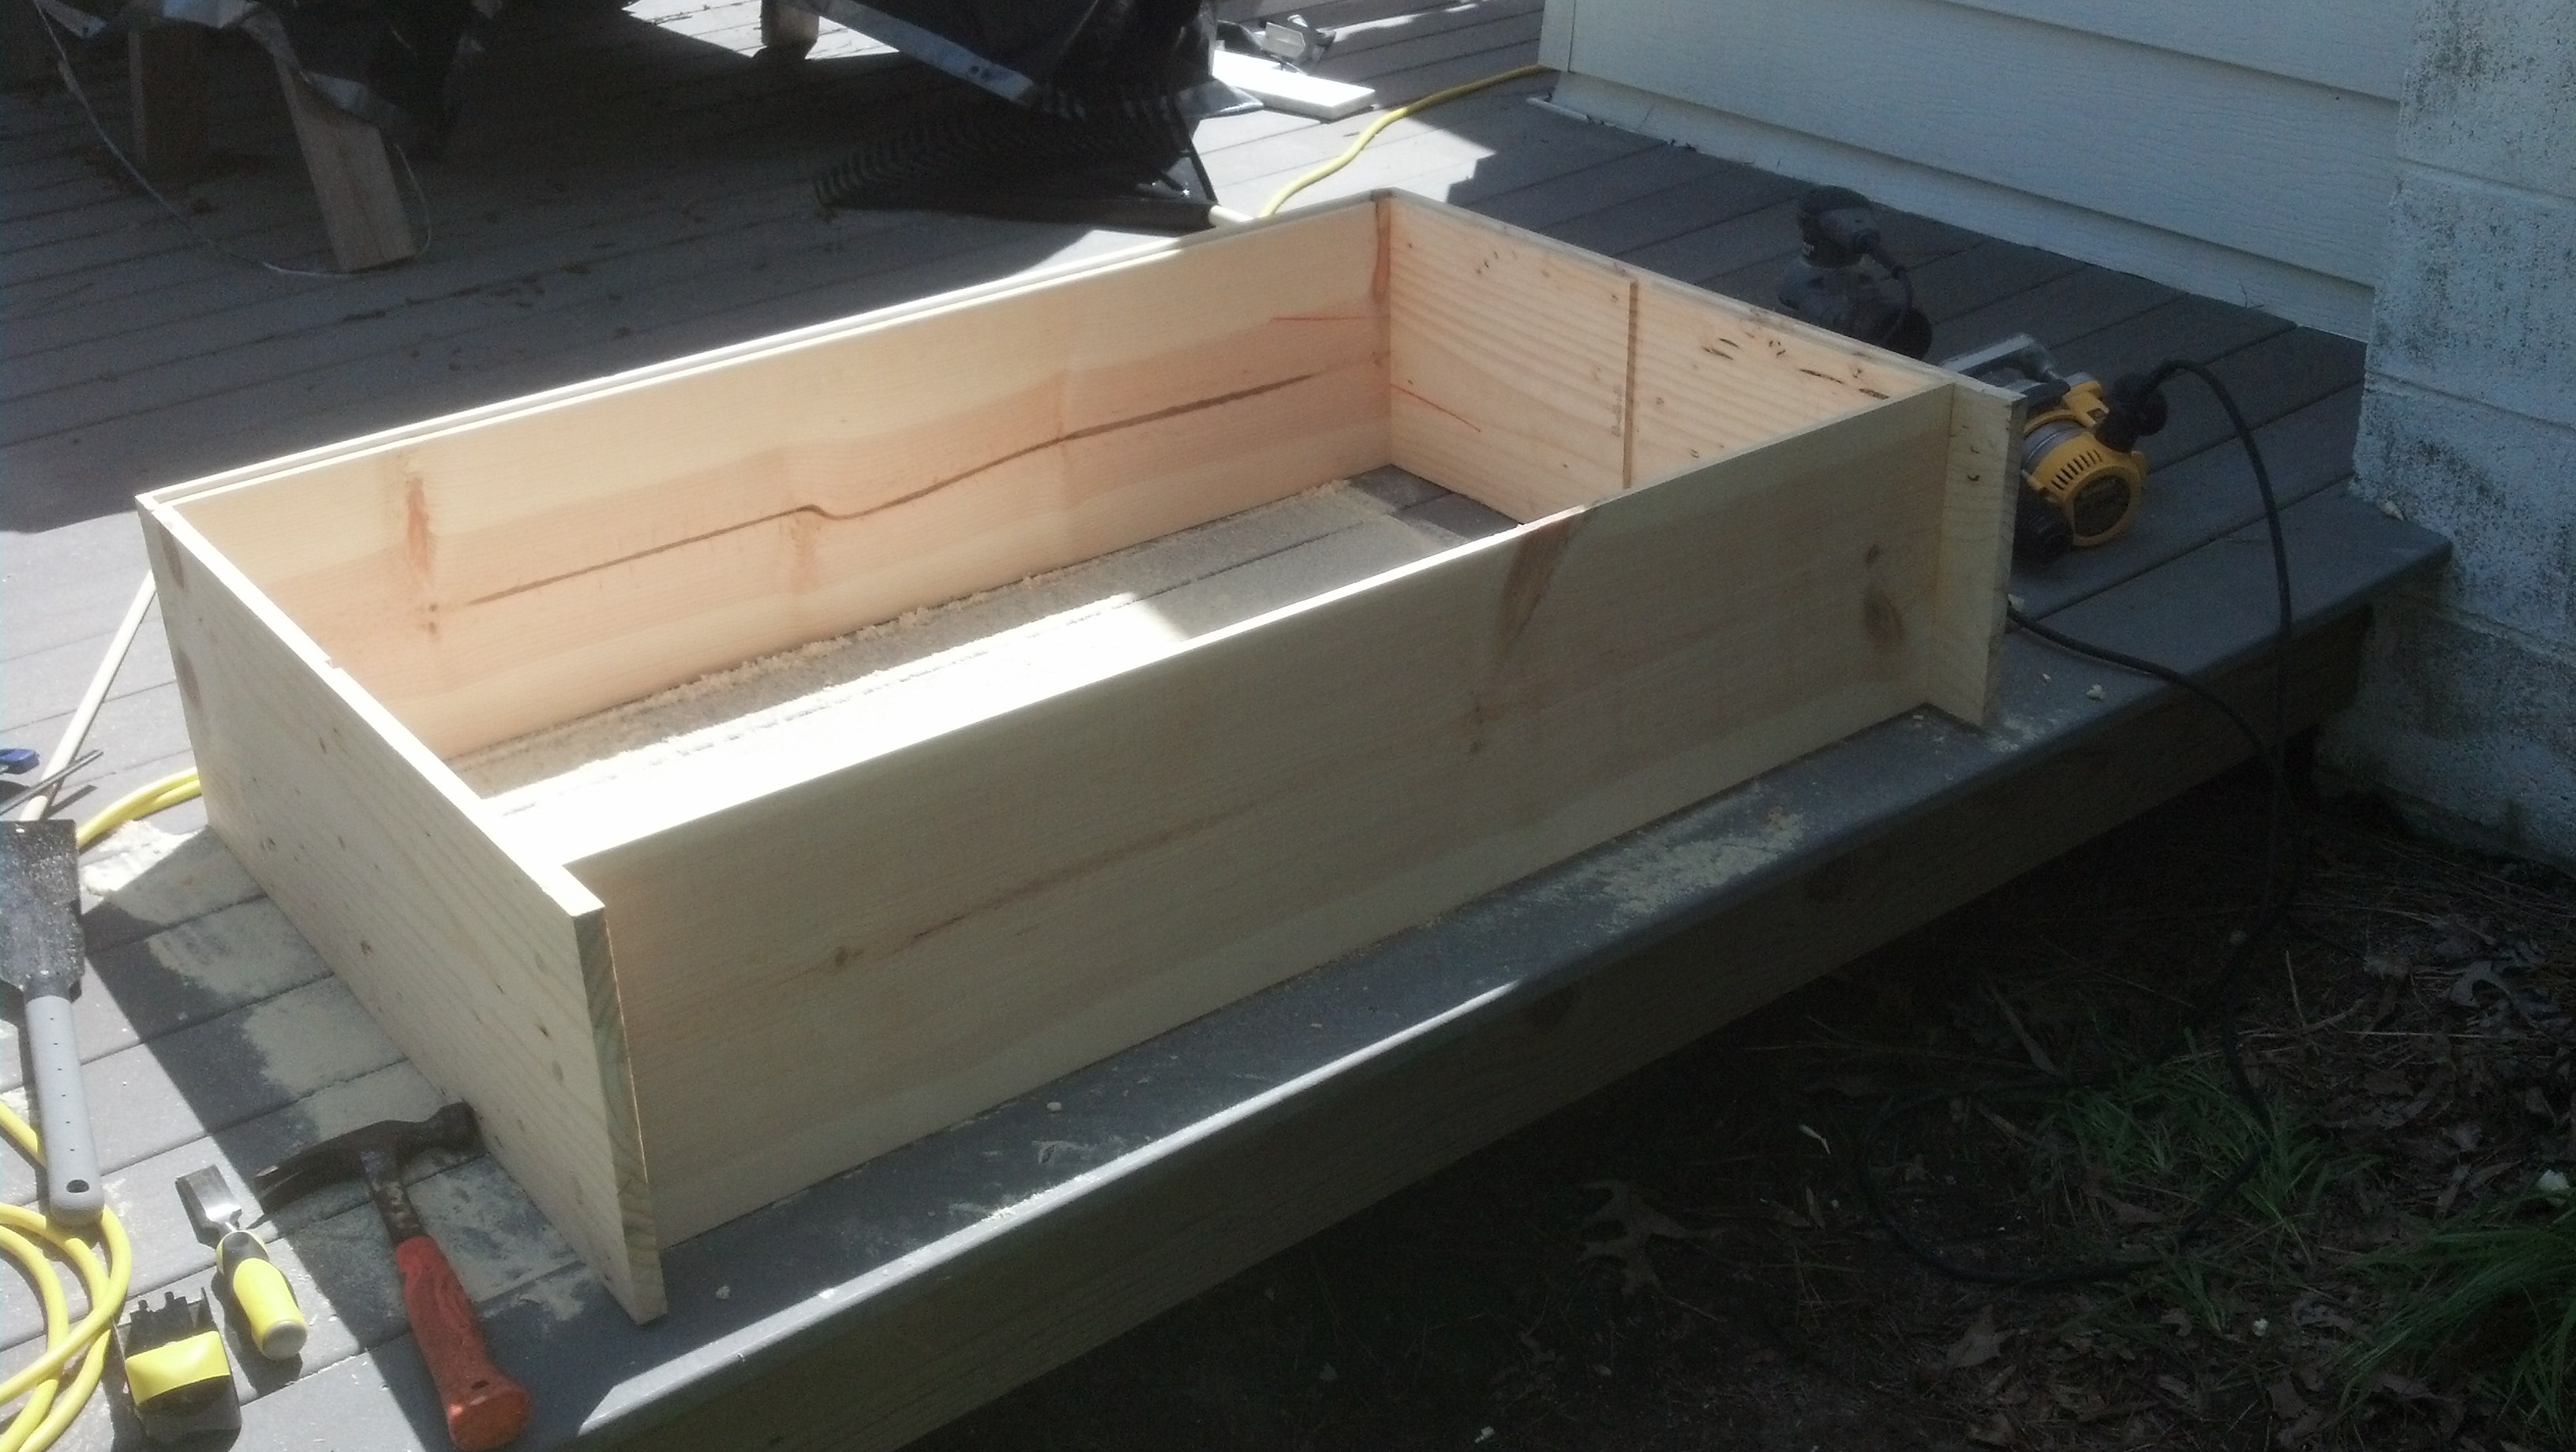
Once everything is cut to size, I'm ready to move on to the joinery millwork. The bottom and middle shelves are set in dados, and the top shelve is in a rabbet. I find when doing pieces that have to line up like the two sides, it's easier and more accurate to work both pieces at the same time. So I clamp them together and route the needed dados and rabbits.
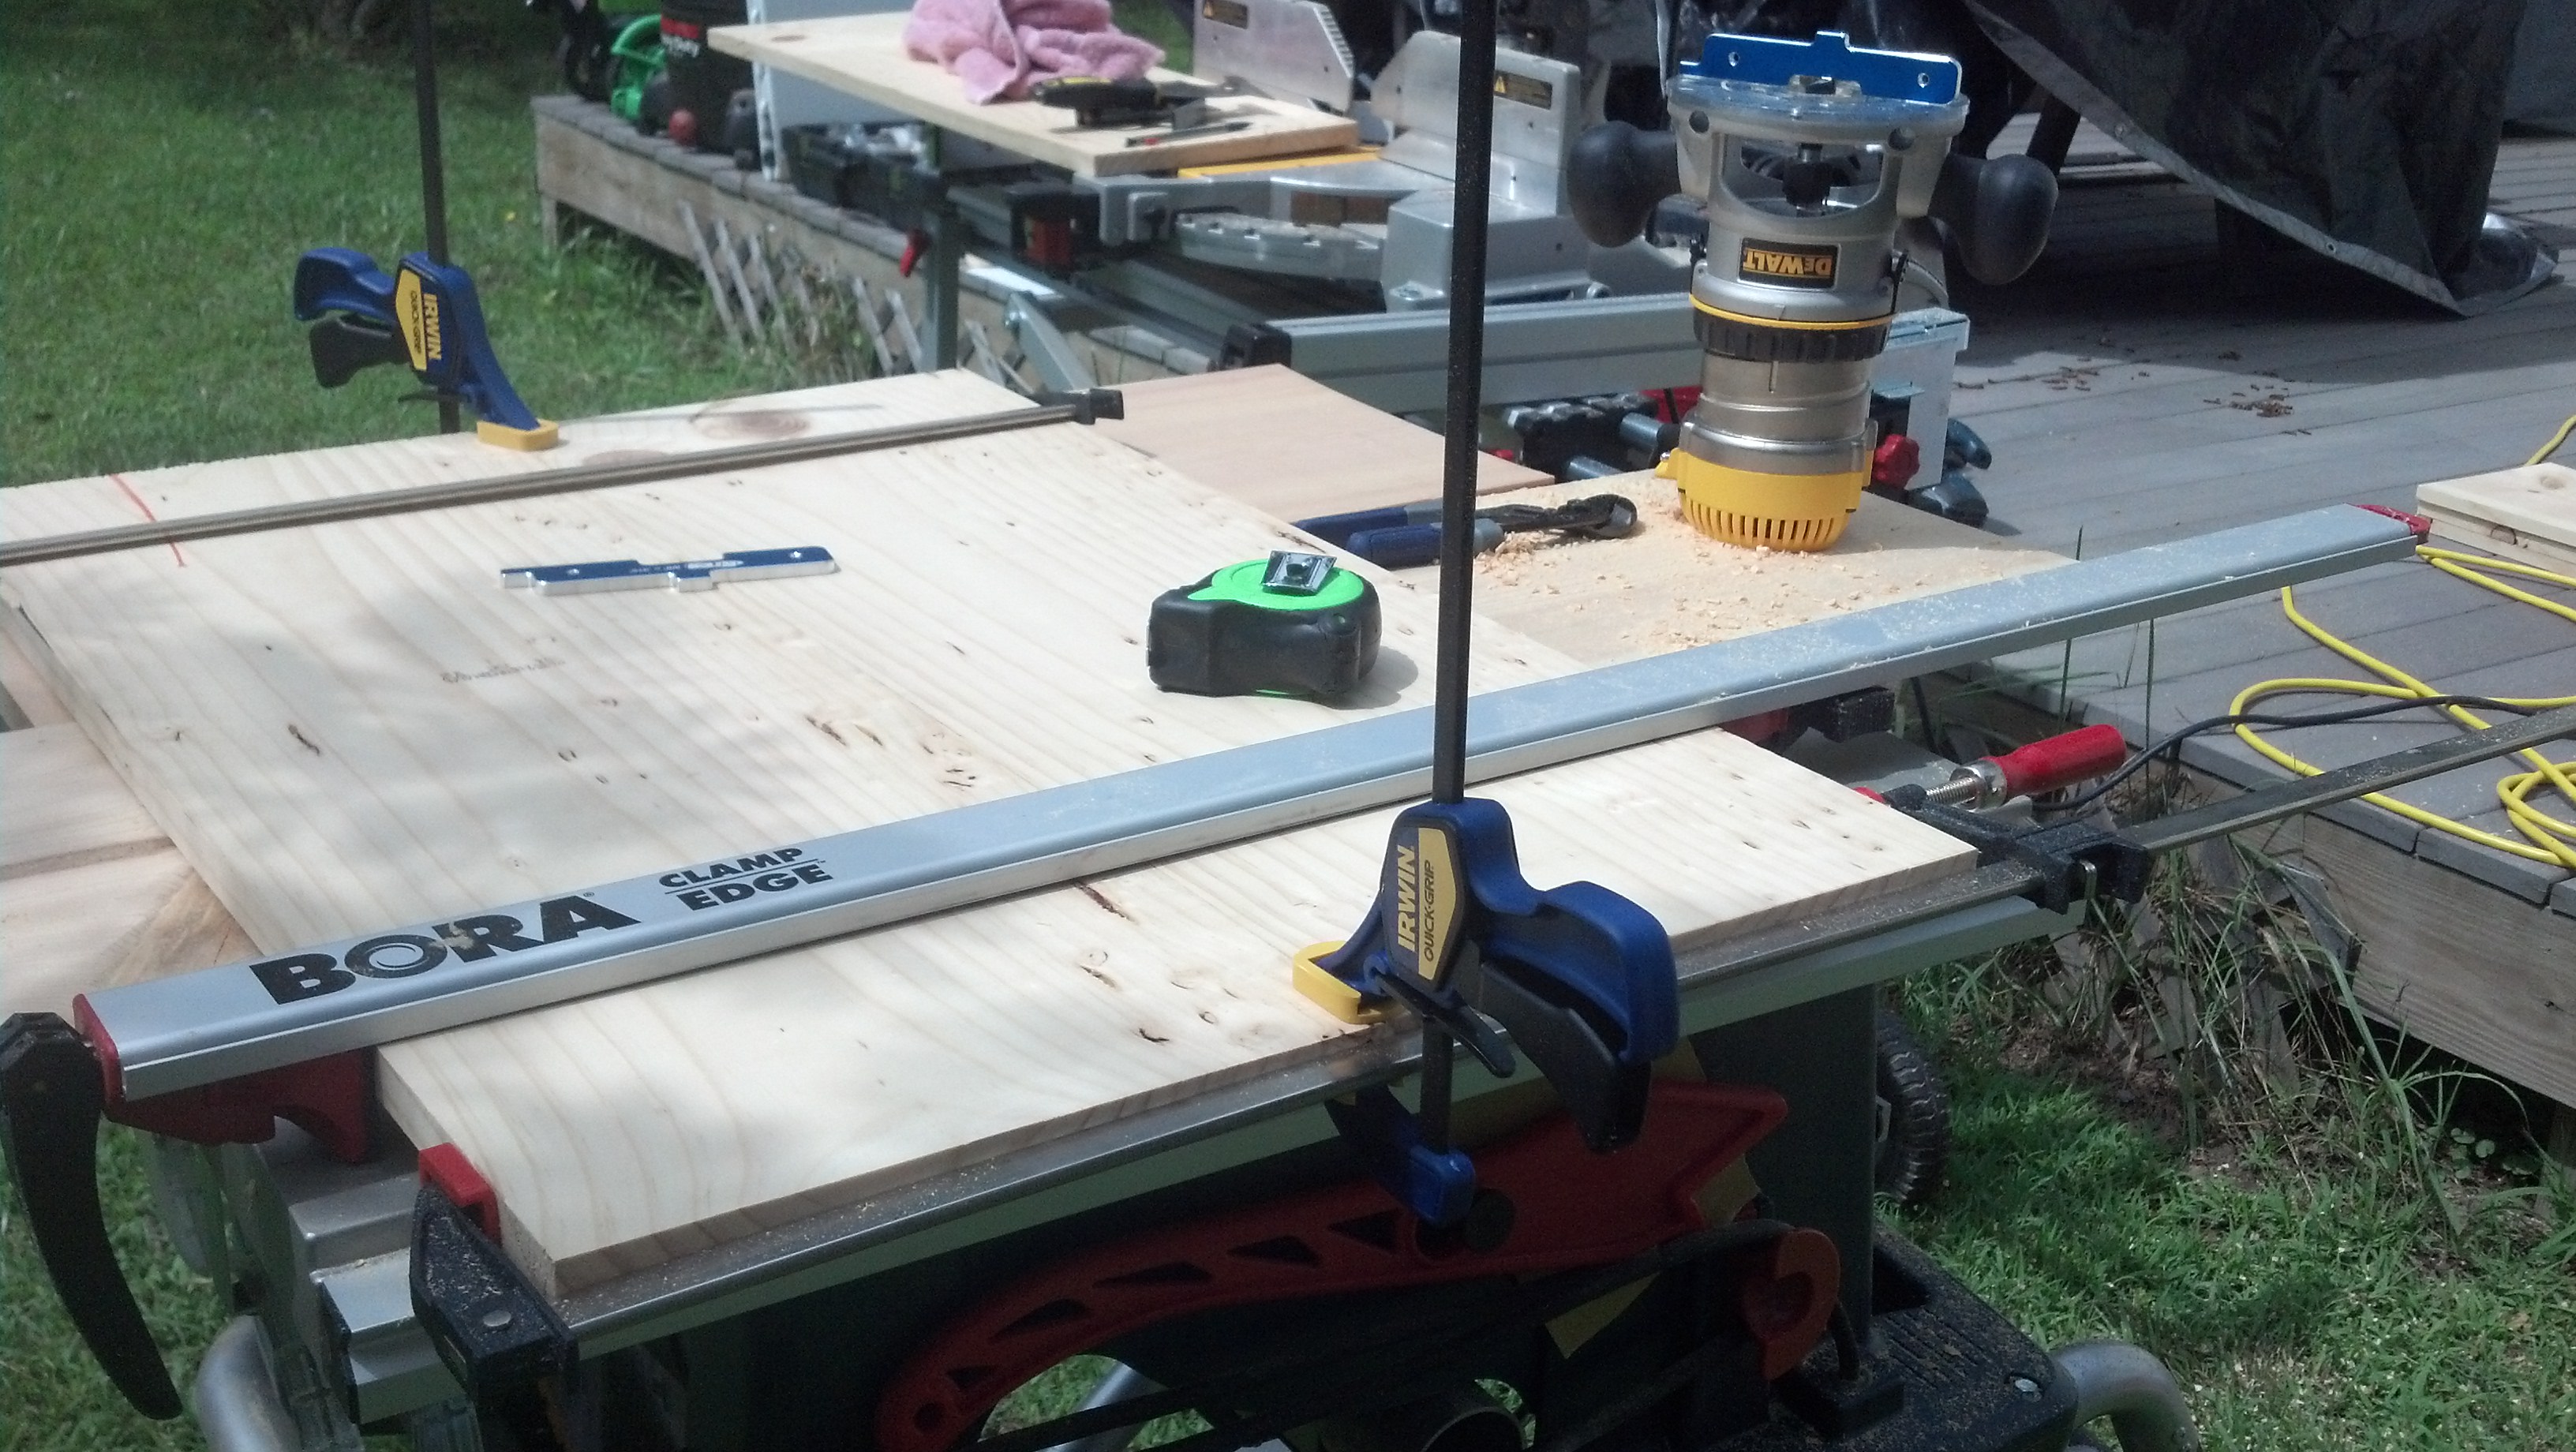
The first dado is 3" up from the bottom, the second dado is 17.75", and the top rabbit is .75" to match the material I'm working with. Time to fit everything together and see how it's coming along.
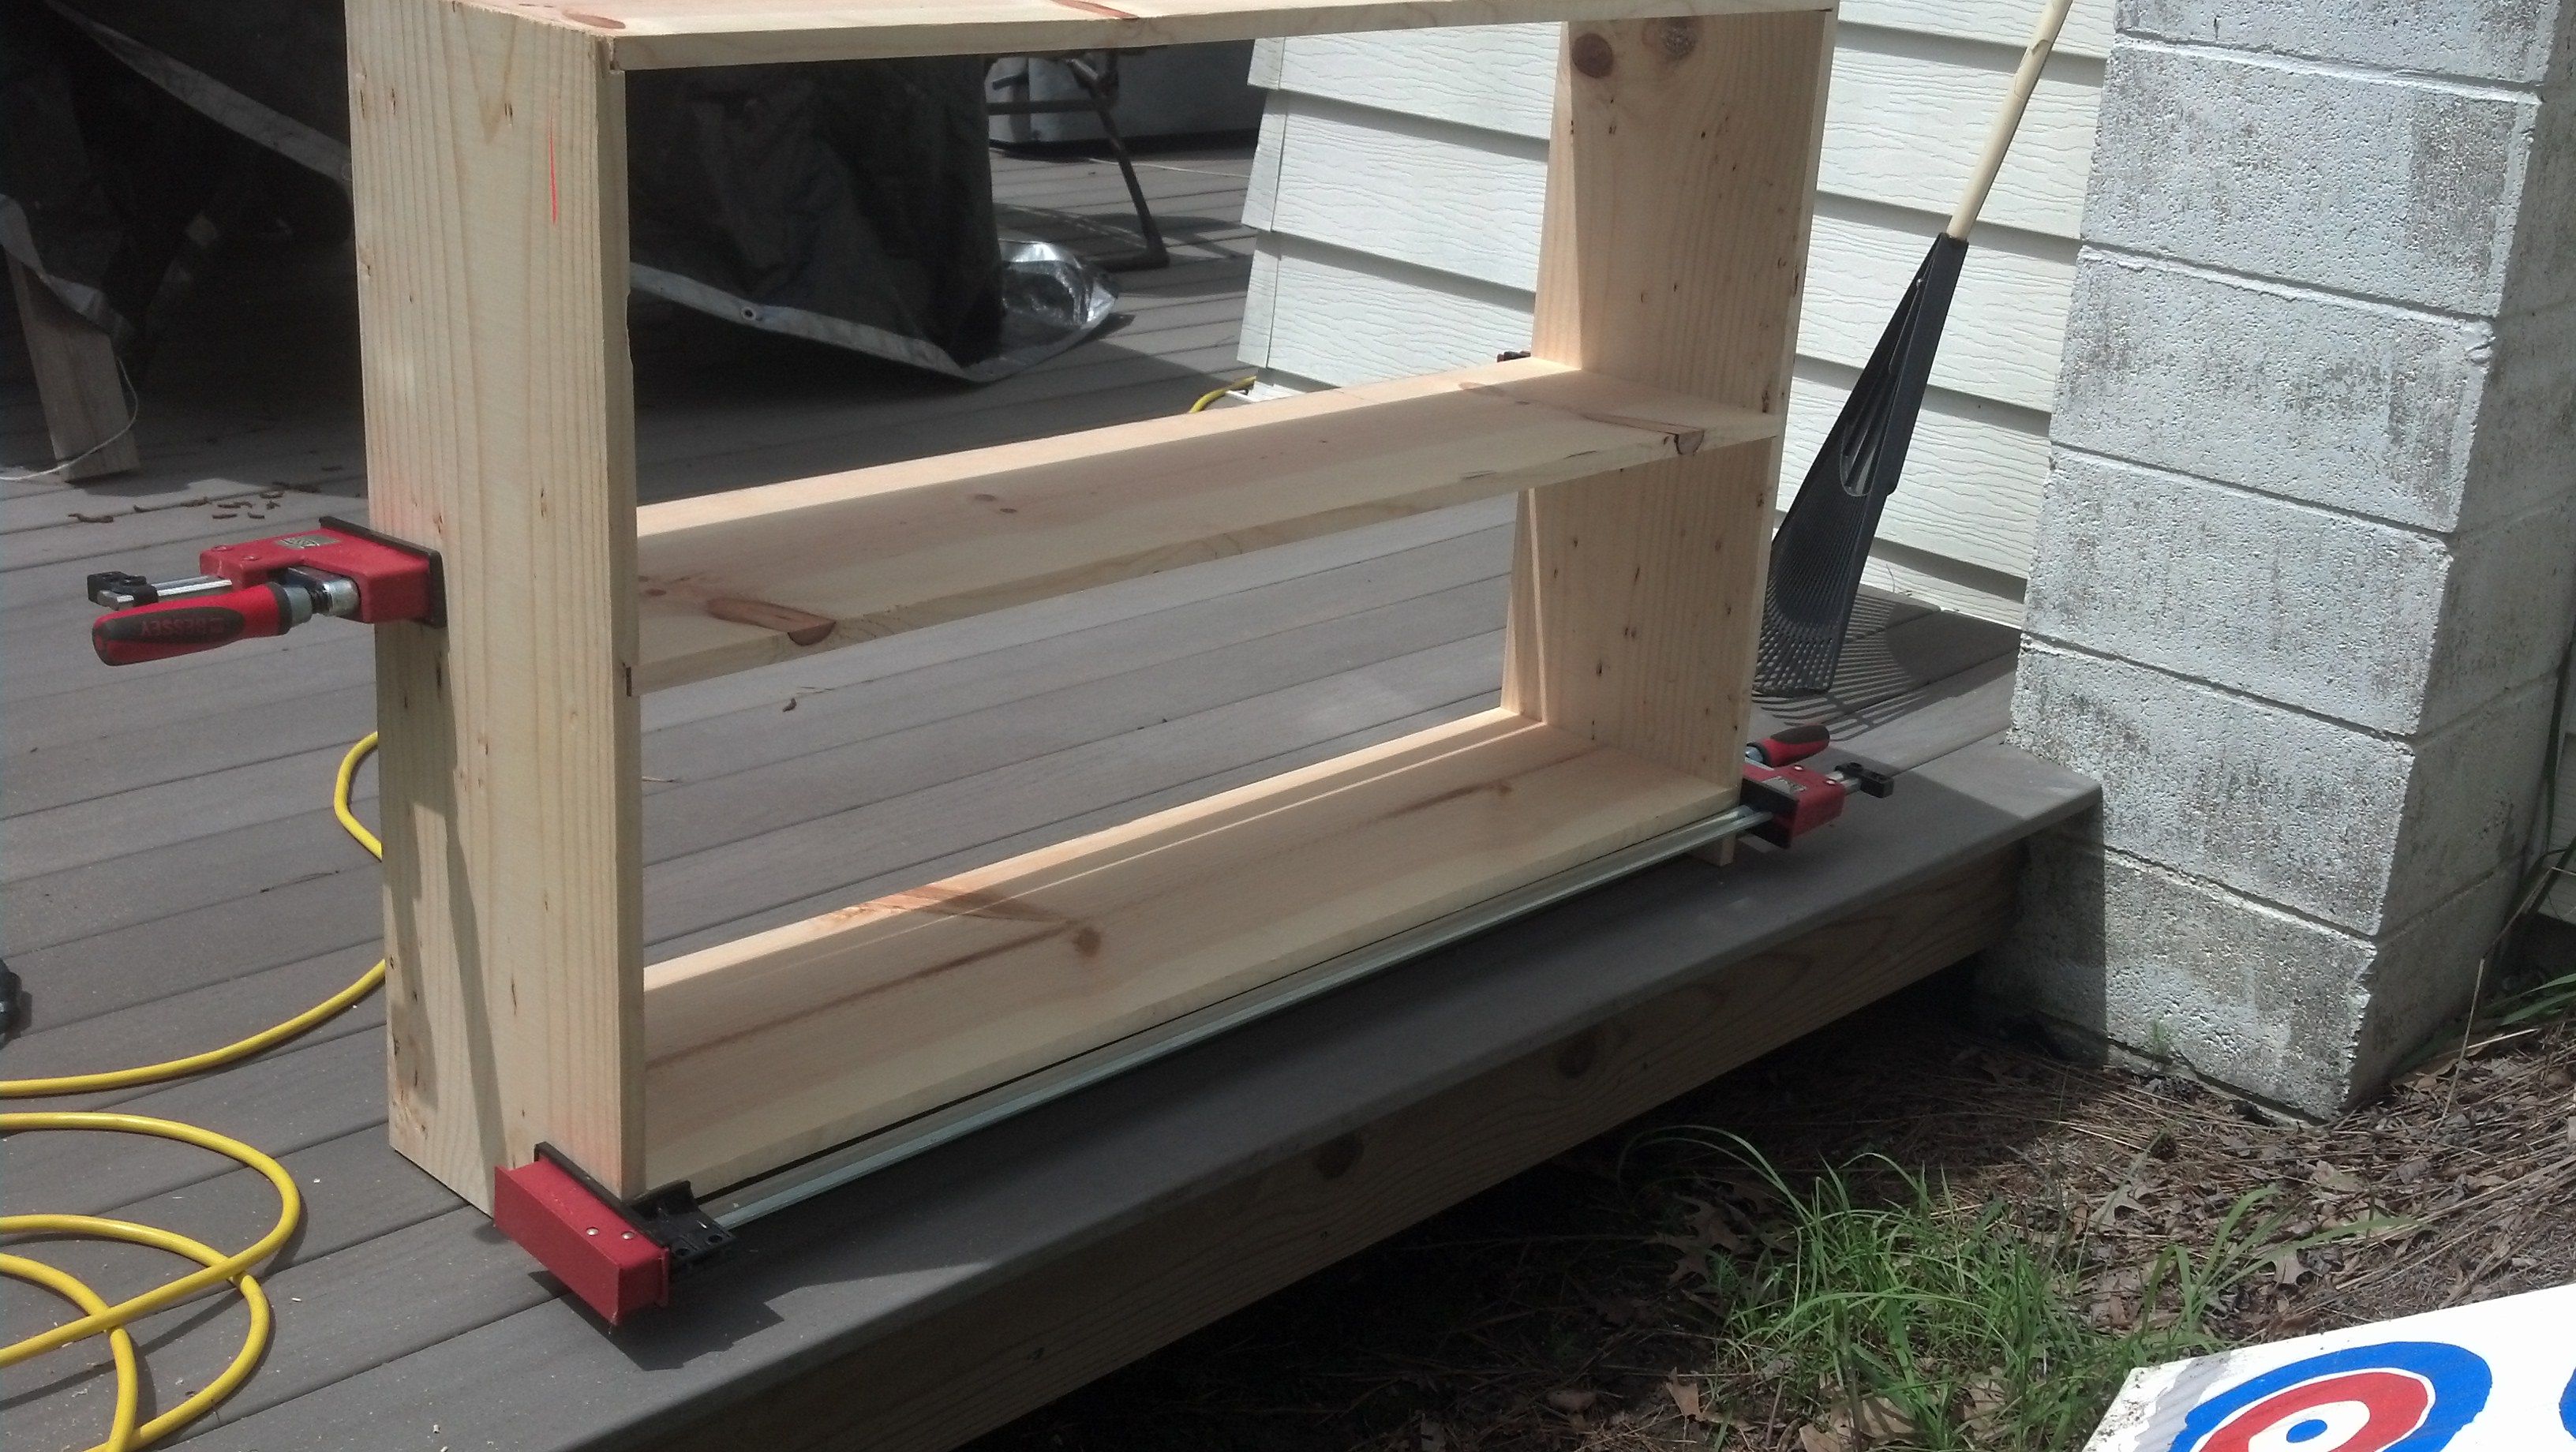
Next is glue up. I glued the top and bottom shelves, leaving the middle shelve out for now. I went back and forth about using screws or not, ultimately I thought because this is going in a kids room, it should be reinforced as much a possible. I counter drilled each screw hole and used a .25" dowel to plug the holes. My idea, because it was being painted, you would never see it.
Once the glue is dry I'll route a .25" rabbit in the back for a piece of plywood. That will get glued and stapled in.
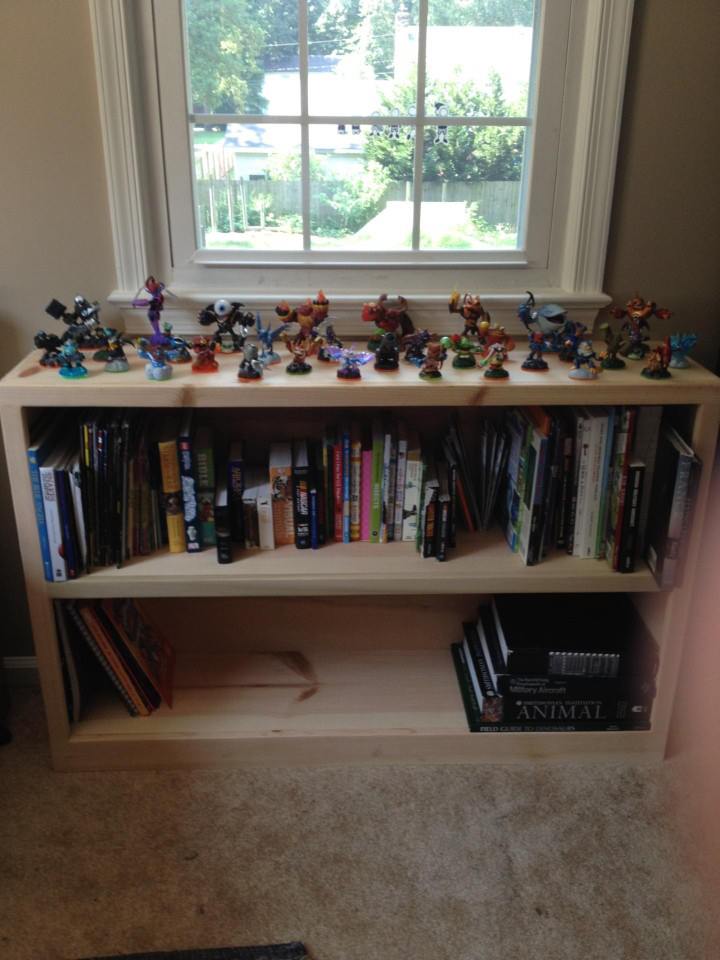
With the back installed the middle shelve can be put in, glued and screwed and holes plugged just like the top and bottom pieces. We can see out progress coming together. I finished the day with sanding up to 320 on the entire case.

The next day, only thing to finish was the face frame. This is the same .75" thick pine the rest of the case is built with. This will add some support from bowing in at the front of shelves and finish off the bottom. A small support piece is glued to the middle of the bottom shelve.
The bookcase is ready for paint (which is left up to my boss):

This was an easy weekend project, one day if you don't have to drive to get materials.
- Jeremiah Newsome's blog
- Log in to post comments